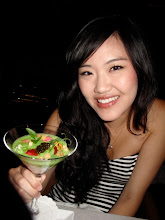
Translation: Peru, nice to meet you!
Thursday night I met chef Ricardo Zarate. He introduced me to Peruvian food for the first time, and it was a very nice meeting indeed.
This meeting took place at the BreadBar in Century City during one of their Hatchi events. "Hatchi" which translates to the number eight in Japanese, refers to the six savory dishes and two sweet creations in an original, one-night only suite of plates that a different guest chef prepares at the BreadBar every month. Usually serving "good-enough-to-be-gourmet" Peruvian dishes at his restaurant Mo-Chica in downtown L.A., this was his night at the BreadBar. I'm so glad I got to experience it.
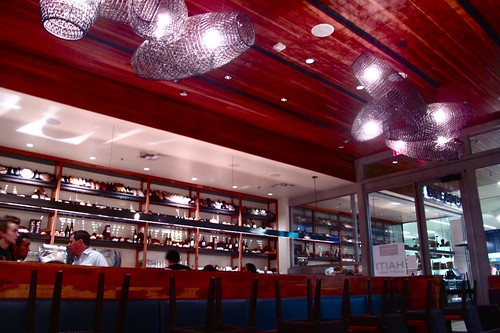
Ricardo Zarate of Mo-Chica
@ the BreadBar Hatchi Series
10250 Santa Monica Boulevard
Los Angeles, CA 90067
(310)277-3770
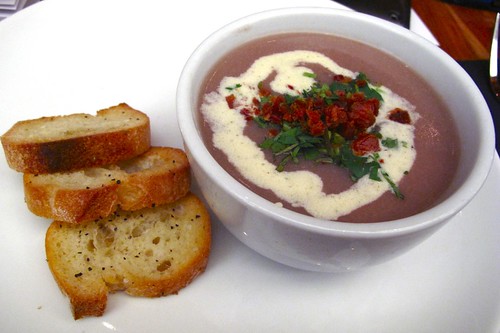
SOPA DE COLIFLOR
cauliflower soup, crispy pancetta, croutons, feta cheese dressing
This soup was a beautiful purple color, warm, thick, and rich, but slightly too salty for my tastes. The feta cheese dressing was nice and tangy but I feel like the salty bits of prosciutto would've been better appreciated if the soup itself was less salty. I also felt like I wanted something other than the crunchy croutons to dip in the soup but I couldn't tell you what...
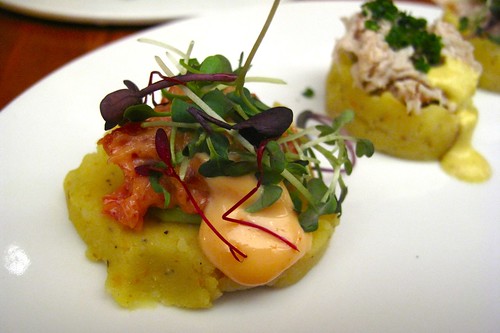
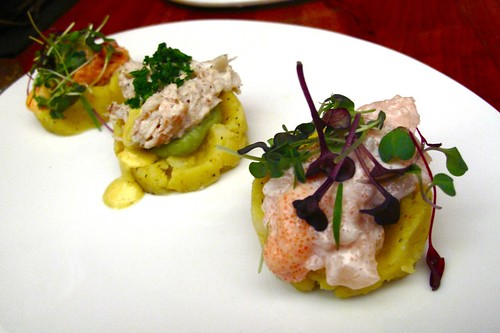
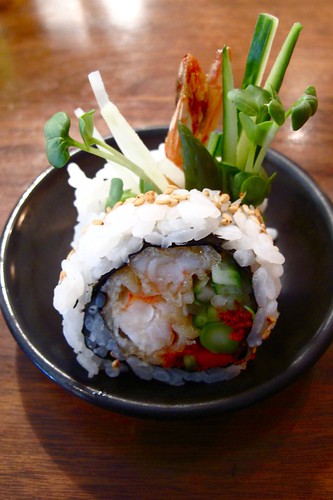
CAUSA TRIO
trio of peruvian potato salad: (from left to right) spicy blue fin tuna, rocoto aioli; blue crab, mayo, huancaina sauce; scallops, menatiko sauce
Easily my favorite dish of the night, and not just because of how pretty it looks. My favorite within my favorite was the middle salad. The deliciously creamy yellow potatoes contrasted so well with the sweet blue crab meat. YUM. I wish I could have more without having to go all the way downtown!
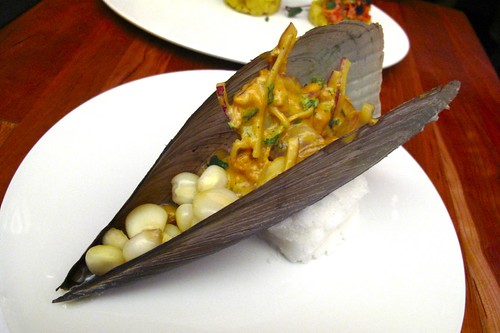
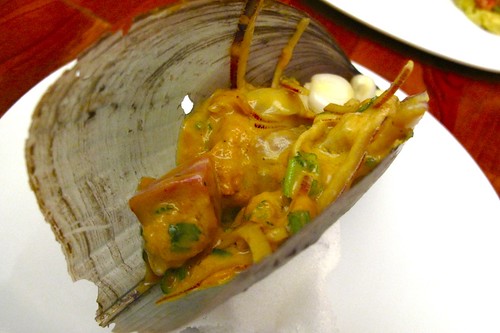
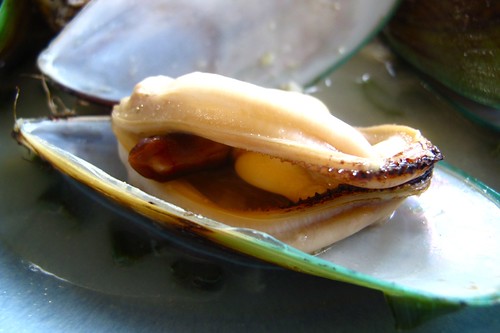
CEVICHE MIXTO
tairagai, uni, sea bass, aji amarillo leche de tigre sauce
There could not have been a more perfect ceviche for me. I love anything that comes in a shell, I love sea bass, and I LOVE uni. All three together was just perfection. The uni coated the tairagai and sea bass pieces in a lovely dressing of the sea and I even found a few surprise pieces of whole uni. Even my dining companion--who does not like uni--liked this dish. Chef Zarate came by and told us that he had found these clams at the last minute that morning. They were freshly flown in from Japan. Simply delicious. Last but not least, the presentation was beautiful--with the ceviche served in the shell of the tairagai.

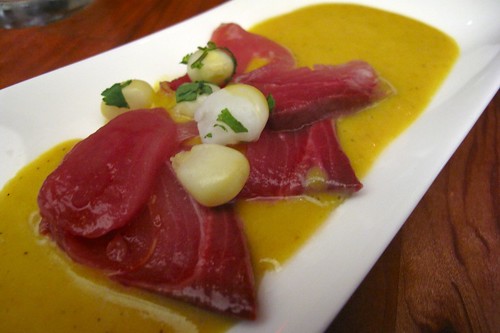
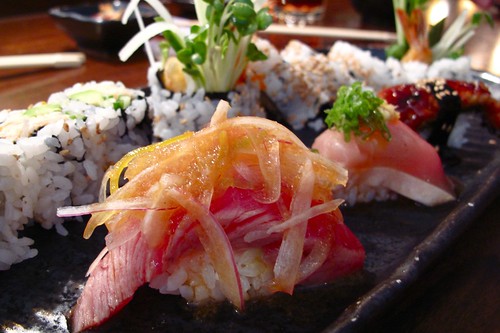
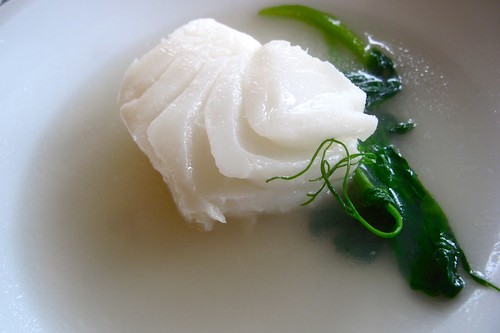
TIRADITO DE PESCADO
yellow tail tiradito, sundried tomato yuzu dressing
This dish was light and refreshing. I loved the dressing. He said lemons. I said limes. Turns out it was yuzu! Figures. The yellowtail, sliced sashimi-style reflects Japanese influences on the tradition ceviche.
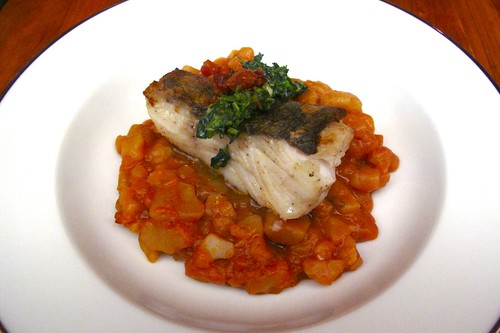
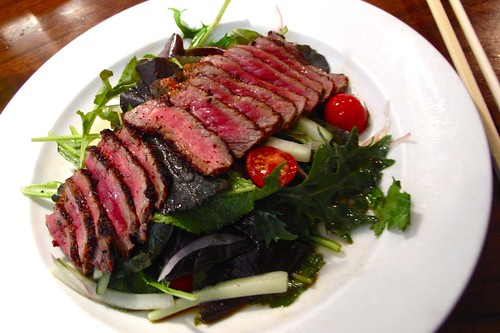
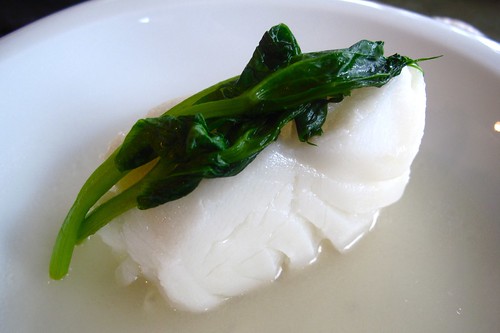
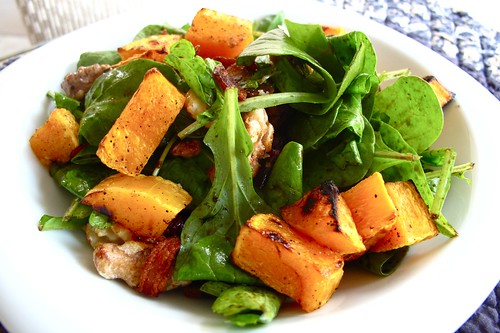
CARAPULCRA
peruvian sun dried potatoes, pancetta, roasted black cod, chimichurri sauce
This dish was also perfect. We both love black cod. In fact, I don't think I would ever be able to resist black cod. The fish was perfection--not overcooked so it was still moist. The slightly fatty cod went so well with the intensely savory potatoes underneath and fresh chimichurri sauce on top. I have no idea how Chef Zarate cooked those potatoes but they were amazing.

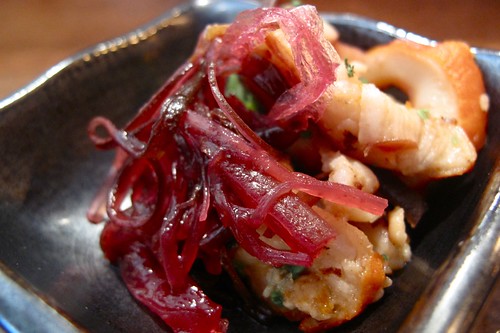
SECO DE CORDERO
stew lamb shoulder in black beer and cilantro sauce, canario beans, red onion salsa
This was the filling, warm, dish we had been waiting for. The beautiful wooden bowl it was served in added to the earthiness of the lamb dish. It was rich and flavorful with nice creamy beans.
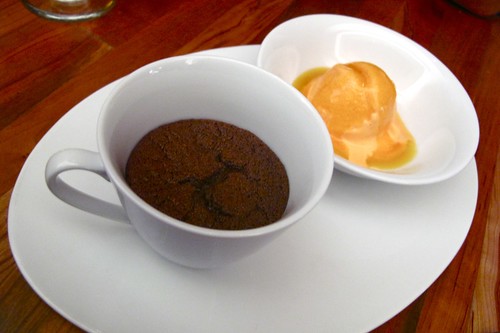
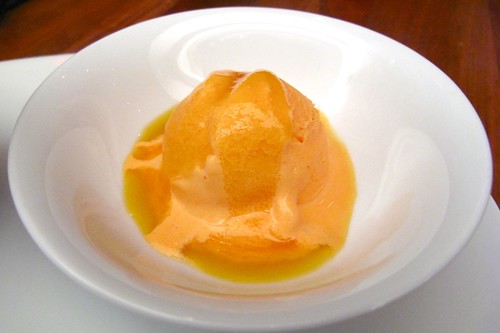
SELVA NEGRA
flourless chocolate cake, lucuma ice cream, tamarillo sauce
This dessert course was okay. The cake was a little dry--nothing spectacular. However, I loved the ice cream. Lucuma is a flavor that I have never encountered because so it was interesting trying to figure out what it tasted like. We came to the conclusion that, despite being a fruit, the lucuma ice cream almost had a maple syrup-like flavor. I could've eaten another bowl of just the ice cream.
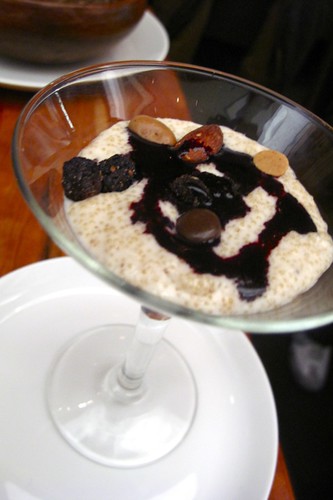
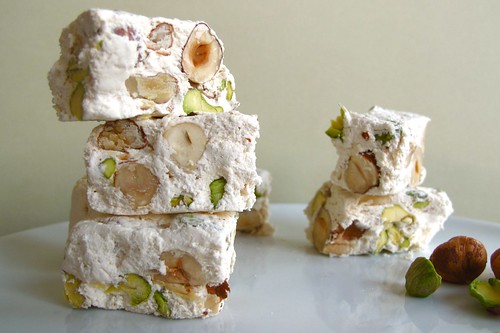
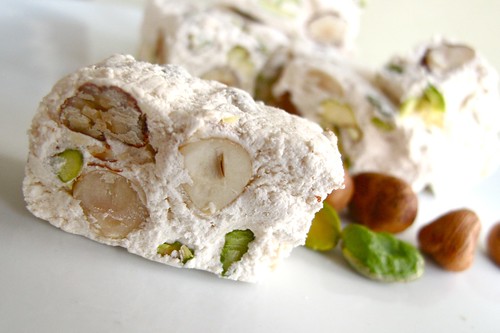
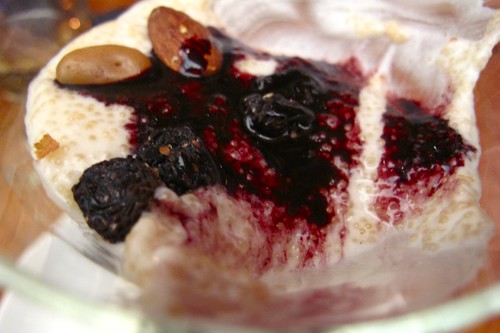
KIWICHA CON LECHE Y ESENCIA DE MAZAMORRA
kiwicha coconut pudding, purple corn essence, mixed nuts
I'm always a little nervous when I invite people to eat out with me. I always worry that they won't enjoy the food. However, when my friend took his first bite of this dessert and I saw the delight on his face, I knew this dinner was successful. Neither of us knew what to expect when we took our first bites, but after that first bite, our spoons kept going back for more. I loved this dessert mainly because it was not overly sweet. The texture of the mini quinoa-like grains of kiwicha in the subtly sweet coconut milk was perfect. It was a great way to end the meal.
Thank you Ricardo Zarate! I love Peru! I can't wait to visit Mo-Chica soon!