Showing posts with label Cookies. Show all posts

Saturday, January 8, 2011

Ice Cream and Biscotti

2010 was fantastic.

Most significantly, food blogging really became than just a hobby for me; it became an integral part of my life. I usually tell people that I started blogging because of my time in Paris during the summer of 2009 (which is true), but as I reflect upon my blog, I realized that I was never really serious about it until a few months after.

Near the beginning of 2010, I attended The Gold Standard. It felt like my official introduction to the food and wine culture in L.A. It was my first time attending a food event, and every little bite felt like an informal "hello!" from the restaurants Jonathan Gold called his favorites.

During spring break, I had my first meal at L'Atelier de Joël Robuchon in Taiwan, after which I really became more aware of the beauty in the plating of food. It was the first time I'd witnessed such precision in what goes on a plate, and I was completely awestruck the entire meal.

Around the same time, by some cosmic chance, I was invited to a FoodDigger preview dinner at Ludobites 4.0. It was my first "real life" interaction with other food bloggers, and I was finally able to begin putting faces and blog names together.

After that, it snowballed, and I'm sincerely grateful to have found so many new foodie friends. It really is a joy to eat with people who enjoy food as much as I do. I began eating out much more often with food bloggers including a dessert tasting at the now-closed Sona with Tsz and a Hatchi dinner at Breadbar with Helen.

I then spent the summer in Spain where I consumed a ridiculous amount of tapas and sangria and had an unforgettable molecular gastronomy experience at Comerç 24. The summer continued to Bordeaux to attend a wedding at a wine château before my final stop in Paris. Perhaps the culmination of my gluttonous year was my stay in Paris with my mom. The Michelin star restaurants we ate at--including Le Jules Verne, Le Cinq, L'Arpège, and L'Astrance--remain unblogged because how to write about their magnificence still escapes me.

As a new school year started, I moved out of the dorms at UCLA and into a new apartment with the best roommates a girl could ask for. I finally had my own kitchen, and I can't even begin to explain the difference that made. I also started a food writing internship at Los Angeles Magazine with Lesley in the Dine department. It has been immensely rewarding in more ways than one, and I definitely hope to continue with it this year.

2010 also marks the year I finally mastered the macaron.

But enough about 2010. I want to talk about 2011 and my exciting new gig at Scoops Westside. This is perhaps the biggest step I've made so far towards my dream of opening up my own patisserie someday, and it's all thanks to "The Ice Cream Man."

Scoops Westside
3400 Overland Ave.
Los Angeles, CA 90034
tel: 323-405-7055

photo-16
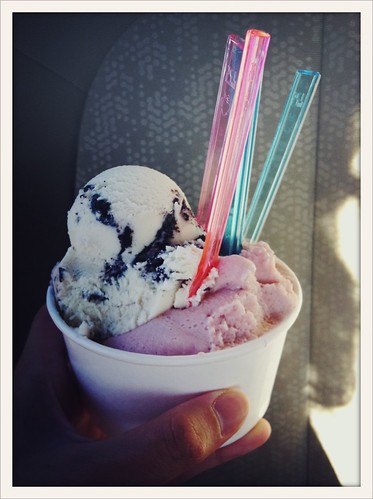
As many of you may know, Matt of Mattatouille recently opened up Scoops Westside, the second location of an ice cream shop with exciting flavors such as Pistachio Jasmine, Guiness Chocolate, and Maple Black Truffle. On top of that, he offers Intelligentsia drip coffee and loose leaf tea. It is the best coffee I've had to this day. Within the short time that Scoops Westside has been open, the place has not only become an after school introduction of exotic flavors to little kids who think they only like plain vanilla ice cream, but also a laid back hangout for the foodie community of L.A.

IMG_0444
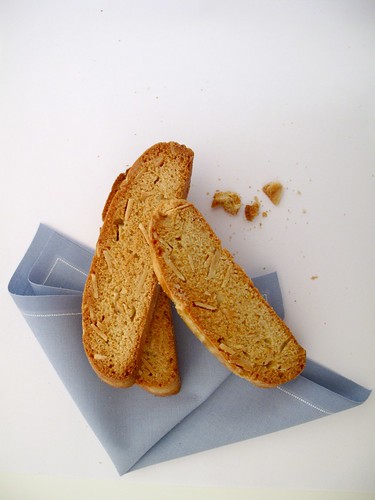
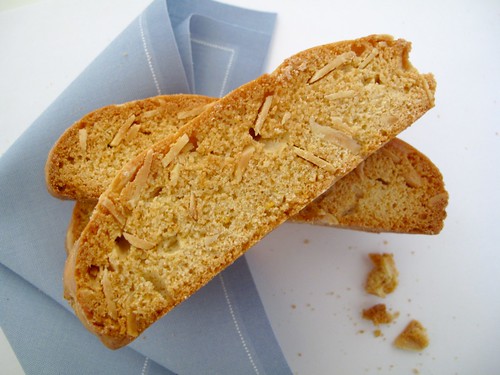
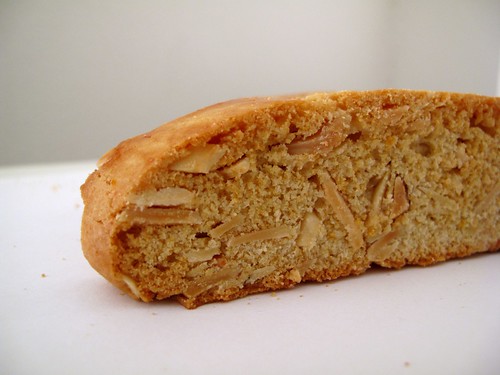
So when Matt asked me if I'd like to bake some of my biscotti for him to sell at Scoops, I thought I'd misheard him. I had brought him some as a treat, but never in my wildest dreams did I think he'd like them enough as to want to sell them in his shop. That night, I was so excited I couldn't sleep. The next day, I showed up with at Scoops with a fresh batch of Orange Almond Biscotti for sale. Please stop by and try some with your ice cream or coffee!

IMG_0447
And here is the recipe for that biscotti. I think it's the best biscotti recipe I've ever used.

Orange Almond Biscotti
makes about 40

3 1/4 cups all purpose flour
1 tablespoon baking powder
1/3 teaspoon salt
1 1/4 cups sugar
10 tablespoons (1 1/4 sticks) unsalted butter, melted
3 large eggs
1 tablespoon vanilla extract
1 tablespoon orange liqueur (I used Cointreau)
1 tablespoon orange zest (make sure it's a really fragrant orange--it makes all the difference)
1 cup (8 oz) sliced almonds

1 large egg white

Directions:

1. Preheat oven to 350°F

2. Sift flour, baking powder, and salt into a bowl. In another bowl, mix sugar, melted butter, 3 eggs, vanilla extract, orange liqueur and zest together with a wire whisk.

3. Add the flour mixture into the wet mixture and stir with a wooden spoon until just blended. Mix in sliced almonds.

4. Divide the dough into two, and using floured hands, shape each piece into 13 1/2 inch long by 2 1/2 inch wide logs. Transfer both logs to a silpat or parchment paper lined baking sheet.

5. Brush the tops and sides of the logs with egg white.

6. Bake the logs for 25-30 mins or until golden brown.

7. Let the logs cool completely, about 25 minutes. Once cool, cut the logs diagonally into 1/2 inch slices using a serrated knife.

8. Transfer the slices back onto the baking sheet and bake for 12 minutes. Turn the slices over and bake for another 6-8 minutes.

9. Transfer the slices onto a rack and let cool completely.

10. Enjoy with a cup of Intelligentsia coffee :)

IMG_0463

So as 2011 begins, I am infinitely optimistic about my love affair with food. With a fresh header at the top of my blog, and a new DSLR at my side, 2011 is bound to be just as fantastic as 2010.

Friday, December 3, 2010

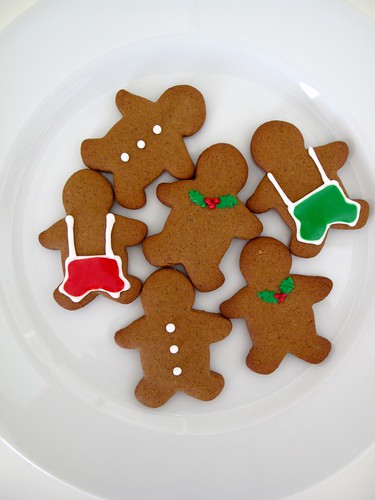
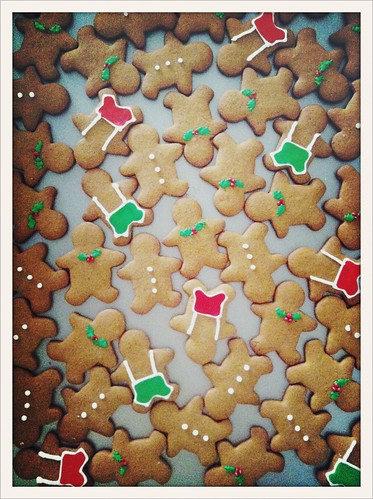
Gingersnaps & Gingerbread Men

It's finally December, which means I can start celebrating the Christmas season to my heart's content. I'll be honest, I've been listening to Christmas music since the week before Thanksgiving and baking gingerbread cookies since the day right after, but it definitely seems more appropriate to do these things in December.

IMG_0137
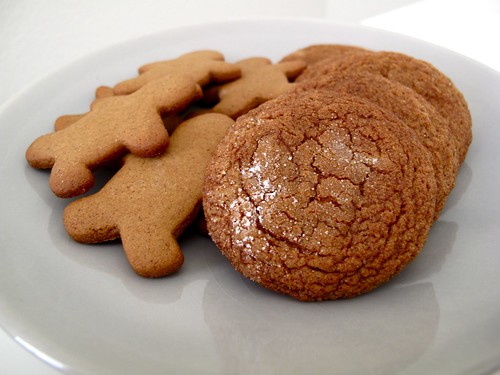
I love both of these ginger cookie recipes. Both recipes are great, and although their ingredients are similar, the different proportions of flour to leavening and sugar to butter make them taste completely different. And the smell of these cookies when they're in the oven is magical! I promise your house will literally smell like Christmastime.

Also, these are great recipes to make simultaneously. The ingredient list is practically identical, and the baking temperatures are both at 350 degrees. Both require a quick chill in the fridge, so while one batch of gingersnap dough is chilling in the fridge, you can whip together a batch of gingerbread men dough.

EAT MY BLOG official logo
I just finished making these gingersnaps and gingerbread men for this Saturday's Eat My Blog bake sale. For those of you who don't know, Eat My Blog is a charity bake sale put together by Cathy of Gastronomy Blog. All proceeds go to Los Angeles Regional Foodbank. I've been wanting to participate in it ever since she started the event, but this was the first time I've had my own kitchen to do some baking in. My cookies have some pretty humble ingredients compared to some of the exotic and elaborate treats that are going to be for sale, but they're perfect for the holiday season. Make sure you stop by on Saturday, December 4th, at Tender Greens (8759 Santa Monica Blvd) in West Hollywood from 10:00am.m-4:00p.m. for some sweet treats!

Incredibly Crisp Gingersnaps
makes about 50

2 cups all-purpose flour
2 teaspoons baking soda
1/2 teaspoon salt
1 teaspoon ground cinnamon
2 teaspoon ground ginger
1/2 teaspoons ground cloves
12 tablespoon (1 1/2 sticks) unsalted butter
3/4 cup sugar
1 large egg
1/4 cup molasses
sugar for finishing

1. In a bowl, sift together flour, baking soda, salt, and spices.
2. In another bowl, cream butter with sugar until light and fluffy. Add egg and continue beating until well incorporated.
3. Add half the flour mixture then add in molasses and combine before adding remaining flour mixture. Mix only until just incorporated.
4. Chill in refrigerator for at least 30 minutes. The dough can be made the day before.
5. Using an 1-inch cookie dough scooper, make balls of dough to roll in sugar before placing on a silpat-lined baking sheet. Leave plenty of room between the cookies (3 inches) because they will spread in the oven.
6. Bake at 350 degrees Fahrenheit for 12-15 minutes.

IMG_0127

Gingerbread Men

3 cups all-purpose flour
1/2 teaspoon baking soda
1/4 teaspoon baking powder
1/2 cup (1 stick) unsalted butter
1/2 cup packed dark brown sugar
2 teaspoons ground ginger
2 teaspoons ground cinnamon
3/4 teaspoons ground cloves
1/2 teaspoons finely ground pepper
3/4 teaspoons coarse sea salt
1 large egg
1/2 cup molasses

1. In a bowl, sift together flour, baking soda, and baking powder.
2. In another bowl, cream together sugar and butter until light and fluffy. Then add in spices and salt. Combine before adding the egg and molasses. Mix until incorporated.
3. Add flour mixture and mix on low until just incorporated. Divid the dough into two parts. Wrap each individually and chill in the fridge for at least 30 minutes.
4. Sprinkle some flour on a flat surface and roll out the dough to 1/4 inch thickness. Using cookie cutters, cut out the gingerbread men and place on a silpat-lined baking sheet.
5. Bake at 350 degrees Fahrenheit for 8-10 minutes depending on the size of the cookie cutter you're using. A 2-inch tall gingerbread man takes about 8 minutes in the oven.

IMG_1448
Royal Icing recipe for decorating:
4 cups powdered sugar
3 tablespoons meringue powder
1/4-1/2 cup water
Food coloring gels

Mix together with a hand mixer until stiff peaks form. Feel free to adjust the consistency with either more powdered sugar or more water. Decorate!

Thursday, January 21, 2010

The Best Chocolate Chip Cookies

The pursuit of the perfect chocolate chip cookie recipe is something that many bakers undergo at one point in time. I am lucky in that I did not have to search very long or hard for my perfect chocolate chip cookie recipe. First, I tried one of Alton Brown's chocolate chip cookie recipes--"The Chewy." It wasn't bad, but it wasn't mind-blowing either. The recipe called for melting the butter instead of creaming it. This was supposed to make the cookie chewy. I wasn't very impressed by the result.

A few weeks ago, I came across a chocolate chip recipe on the New York Times website by Jacque Torres, a renowned chocolatier. The man is French. He makes his own chocolate from raw cocoa at his shop in New York. I didn't need to read the recipe twice to know that I had to try it.

The most interesting thing about this recipe is its use of cake flour (a low gluten flour) AND bread flour (a high gluten flour). Why not just use all-purpose flour whose gluten level is in between the two? Don't use all-purpose flour. I believe the ingenious use of cake and bread flour made all the difference in this recipe. It made for a chewy, not-overly-cakey, thick cookie.


IMG_0262

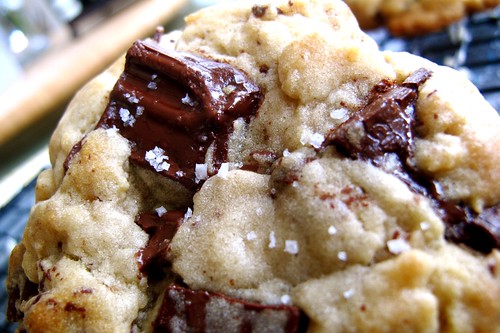
Also, this recipe called for the sprinkling of coarse sea salt on the cookies before baking in addition to a significant amount of salt in the dough itself. Again, ingenious! The saltiness made the flavor chocolate even more intense. I couldn't stop myself from taking bite after bite even while consciously thinking about the amount of butter in the recipe and my growing waistline. It's that good.


IMG_0263

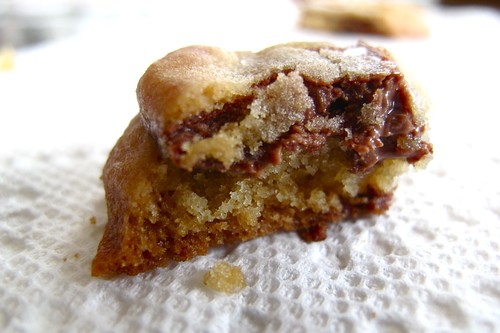
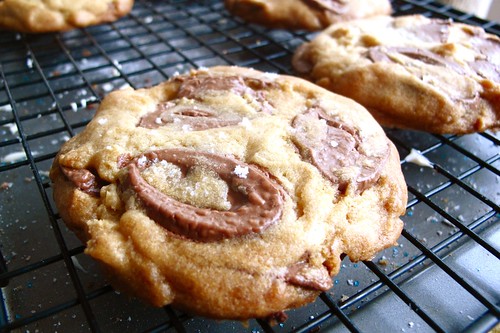
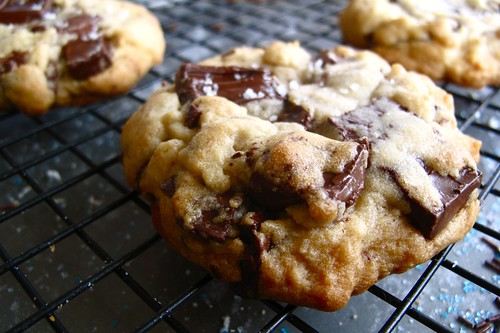
Lastly, the recipe called for chocolate "disks" or Valrhona feves instead of simple chocolate chips. This allowed the cookies to have layers of chocolate instead of random chunks of chocolate here and there. I found milk chocolate Valrhona feves at Whole Foods but they were pretty expensive and I had actually wanted to use bittersweet chocolate. I bought 1/3 of a pound. Valrhona is my favorite brand of chocolate. For the rest of the chocolate, I used Ghirardelli chocolate bars in semisweet and 60% bittersweet--roughly chopped. When forming the balls of cookie dough, I took my time to arrange the chocolate pieces so that they not only came out pleasant looking, but also had those layers of chocolate.


IMG_0266

with Valrhona feves

I made 2 ounce balls of dough which resulted in a 3-inch cookie rather than the huge cookies proposed in this recipe. I followed all the weighted measurements. I no longer trust cup measure. Measuring by weight ensures a consistent product.


IMG_0260

with Ghirardelli chunks


Chocolate Chip Cookies
adapted from Jacque Torres

2 cups minus 2 tablespoons

(8 1/2 ounces) cake flour

1 2/3 cups (8 1/2 ounces) bread flour

1 1/4 teaspoons baking soda

1 1/2 teaspoons baking powder

1 1/2 teaspoons coarse salt

2 1/2 sticks (1 1/4 cups) unsalted butter

1 1/4 cups (10 ounces) light brown sugar

1 cup plus 2 tablespoons (8 ounces) granulated sugar

2 large eggs

2 teaspoons natural vanilla extract

1 1/4 pounds bittersweet chocolate disks or fèves, at least 60 percent cacao content (see note)

Sea salt.

1. Sift flours, baking soda, baking powder and salt into a bowl. Set aside.

2. Using a mixer fitted with paddle attachment, cream butter and sugars together until very light, about 5 minutes. Add eggs, one at a time, mixing well after each addition. Stir in the vanilla. Reduce speed to low, add dry ingredients and mix until just combined, 5 to 10 seconds. Drop chocolate pieces in and incorporate them without breaking them. Press plastic wrap against dough and refrigerate for 24 to 36 hours. Dough may be used in batches, and can be refrigerated for up to 72 hours.

I baked off some of the dough after 24 hours, 48 hours, and 72 hours. The 72 hour batch tasted the best by far. For some reason, the dough develops an almost toffee-like flavor after sitting in the fridge for a long period of time. It makes for a cookie with more depth and complex flavor.

3. When ready to bake, preheat oven to 350 degrees. Line a baking sheet with parchment paper or a nonstick baking mat. Set aside.

4. Scoop 6 3 1/2-ounce mounds of dough (the size of generous golf balls) onto baking sheet, making sure to turn horizontally any chocolate pieces that are poking up; it will make for a more attractive cookie. Sprinkle lightly with sea salt and bake until golden brown but still soft, 18 to 20 minutes. Transfer sheet to a wire rack for 10 minutes, then slip cookies onto another rack to cool a bit more. Repeat with remaining dough, or reserve dough, refrigerated, for baking remaining batches the next day. Eat warm, with a big napkin.

My 2 ounce mounds of dough needed about 15 minutes to bake in the oven.

Try these now!

Wednesday, January 6, 2010

Cookies for Santa


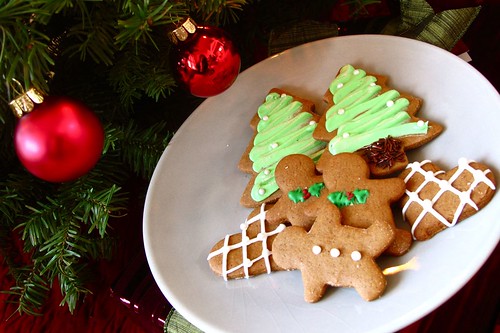
I love gingerbread. I love cookie cutters. I especially love making gingerbread cookies for Santa Claus.
I love gingerbread houses. I especially love gingerbread houses that are only 2 inches tall.

I love Christmas. I love baking. I especially love baking for Christmas! :)

IMG_0035IMG_0095

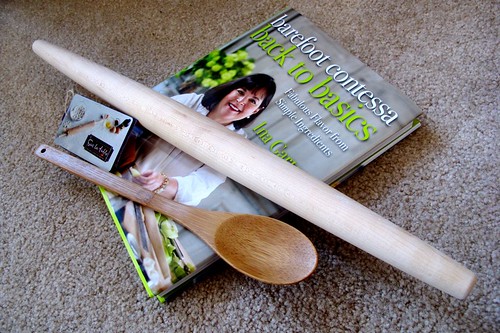
Pretty much all of my Christmas presents were food-related which was fine by me! My mom gave me an Ina Garten cookbook and rolling pin. My mom gave me the french rolling pin a few days early and although designed to roll out pie crusts in a perfect circle, it worked great for making thin crisp gingerbread cookies--just the way I like them!

To make the cookies, I used Martha Stewart's recipe for gingerbread snowflakes. I halved the recipe and added less than half of the brown sugar so they wouldn't be as sweet. I love this recipe! I made it at least three times over the past three weeks of Christmas break.

Although I used Christmas-themed cookie cutters, these cookies could definitely be consumed year round. Just use differently shaped cookie cutters. I rolled the dough out so thin the last few times I made them, they turned out more like movorian (sp?) spice cookies than gingerbread cookies. So delicious!

Gingerbread Cookies

IMG_0086

3 cups all purpose flour, plus more for work surface
1/2 teaspoon baking soda
1/4 teaspoon baking powder

1/2 cup (1 stick) of butter
1/2 cup packed dark-brown sugar
2 teaspoons ground ginger
2 teaspoons ground cinnamon
3/4 teaspoons ground cloves
few turns of finely ground black pepper
3/4 teaspoons coarse sea salt

1 large egg
1/2 cup unsulfured molasses


1. sift together flour, baking soda, and baking powder into a large bowl

2. cream butter and brown sugar in the bowl of a stand mixer with the paddle attachment until fluffy

3. mix in spices and salt, then egg and molasses

4. reduce speed to low and add flour mixture

5. divide dough in half, wrap in plastic wrap and refrigerate until cold--about an hour

6. preheat oven to 350 degrees

7. roll out dough as thinly as possible--or however thin you prefer--and cut with cookie cutters

8. bake until crisp--about 10 minutes

9. let cool and decorate as desired!

IMG_9975

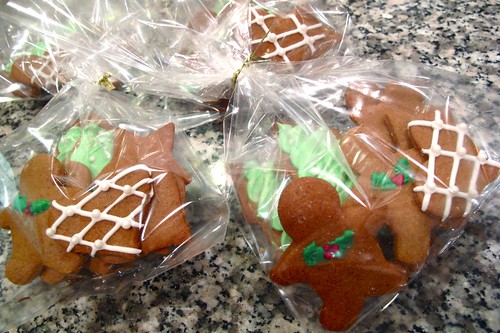
As Christmas approached, I made some to give as gifts to friends and neighbors. I was so happy just looking at them perfectly packaged on the kitchen counter. So Christmasy!

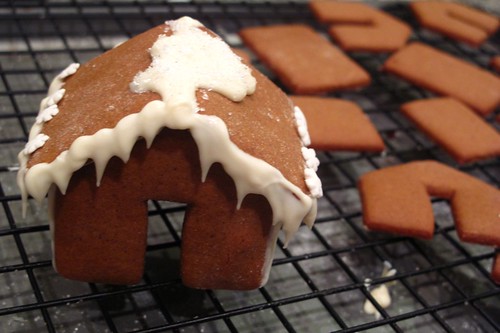
I have always wanted to make a gingerbread house but I always felt like it would require me to make a lot of dough, it would require a lot of work, blah blah blah. So I never got around to it. Finally, this year, I stumbled upon a post on tastespotting that featured little gingerbread houses that sat on the rim of your cup. I thought they were so cute! I had to give them a try. Here they are!

IMG_0115

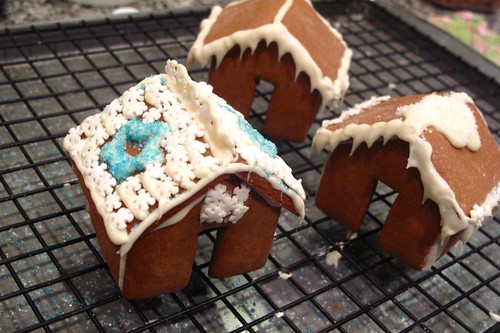
I used the same recipe as my cookies. I used the template from this site. Yes they sucessfully perched on cups but in the end, I just wanted to make a little village of houses :)

IMG_0116

Guess who made the eccentric blue-sprinkles gingerbread house?
My boyfriend hehe. He must love me. He puts up with my OCD miniature gingerbread house making and still manages to feign interest in making his own. :)

Tuesday, December 1, 2009

Molasses Cookies

IMG_9632

Molasses Cookies
Recipe adapted from Baking: From My Home to Yours, by Dorie Greenspan
makes about 2 dozen

2 1/2 cups of all purpose, unbleached flour
2 teaspoons baking soda
1/2 teaspoons salt
2 teaspoons ground ginger
2 teaspoons ground cinnamon
1/2 teaspoons ground cloves
1/4 teaspoons ground nutmeg
pinch of freshly ground black pepper

1 1/2 sticks (12 tablespoons) room-temperature unsalted butter
1 cup dark brown sugar
1/2 cup molasses
1 large egg

1/2 cups white sugar to roll cookies in before baking

Steps:

1. Sift together dry ingredients--flour, baking soda, salt, ground spices

2. Cream butter on medium speed in a stand mixer with the paddle attachment for 2 minutes. Add brown sugar and cream until fluffy. Add egg (preferably also at room temp) and cream until incorporated

3. With the mixer on the lowest setting, slowly incorporate the dry ingredients into the wet.

4. The dough will be sticky. Separate into two portions and wrap each in wax paper. Let the dough chill in the fridge overnight or if in a hurry, chill for 30 minutes in the freezer.

5. While the dough is chilling, preheat the oven to 350 degrees F

6. Once the dough is chilled, remove from freezer/fridge. Make balls of dough that weigh about 21 grams (to ensure consistent size) each or a tablespoon each if you do not own an electronic scale. Roll the balls of dough in sugar. These cookies will spread in the over so place only about 8 cookies per silpat-lined baking sheet. Gently press down on each ball of dough until it is about 1/2 inch thick before putting in the oven.

7. Bake for 12-14 minutes.


IMG_9552


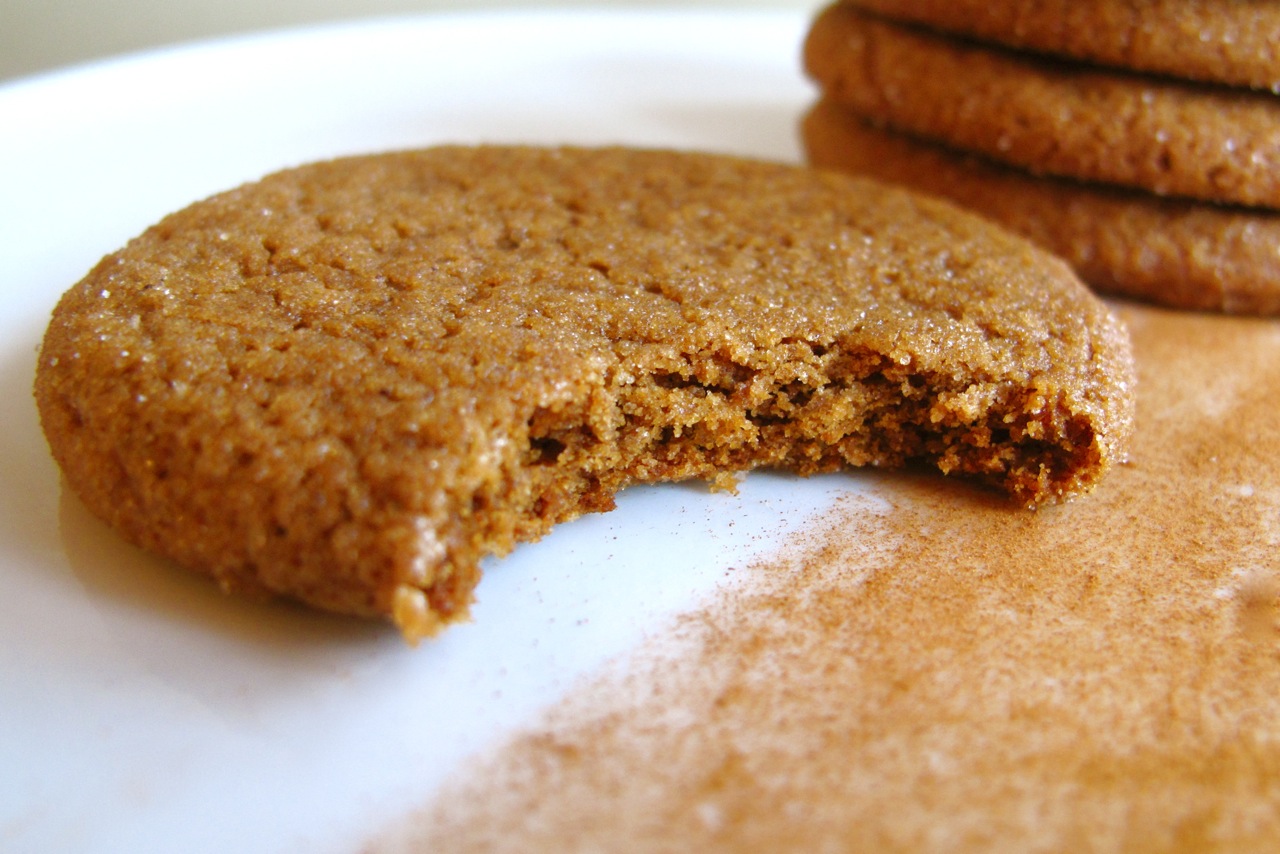
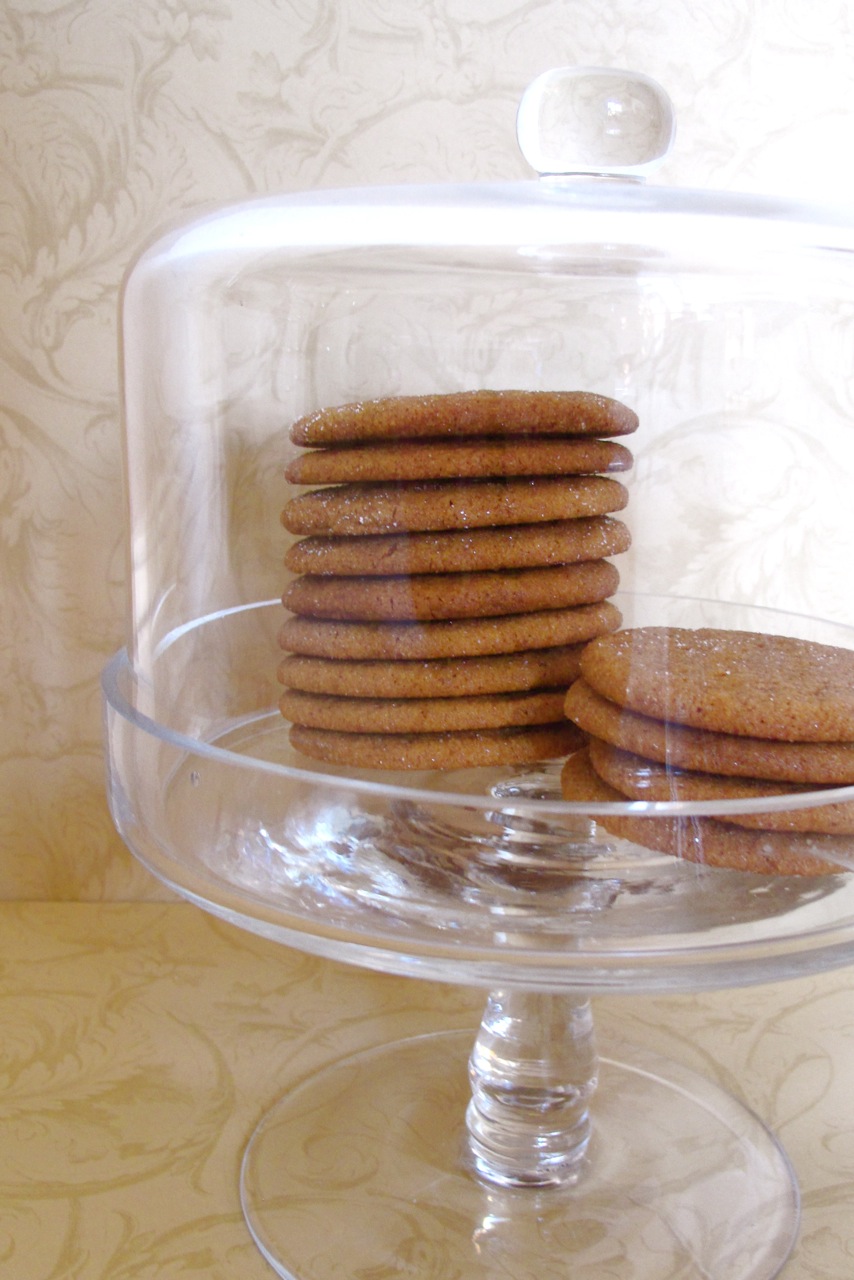
I absolutely LOVE molasses cookies. There is nothing like a warmly spiced, gingery molasses cookie to really make it feel like the start of the holiday season. I used to always bake my default gingersnap cookies that have a very similar flavor but are crunchy and crispy in texture. This time, I felt like making a chewy cookie. I did some research and ended up with these. I was VERY pleased.

Perfectly soft and chewy in the center, with a slightly crispy edge, these molasses cookies definitely satisfied my holiday sweet-tooth. I increased the spice amounts in the recipe and ended up with a wonderfully spicy cookie. Being rolled in sugar also makes these cookies beautiful and sparkly to look at!